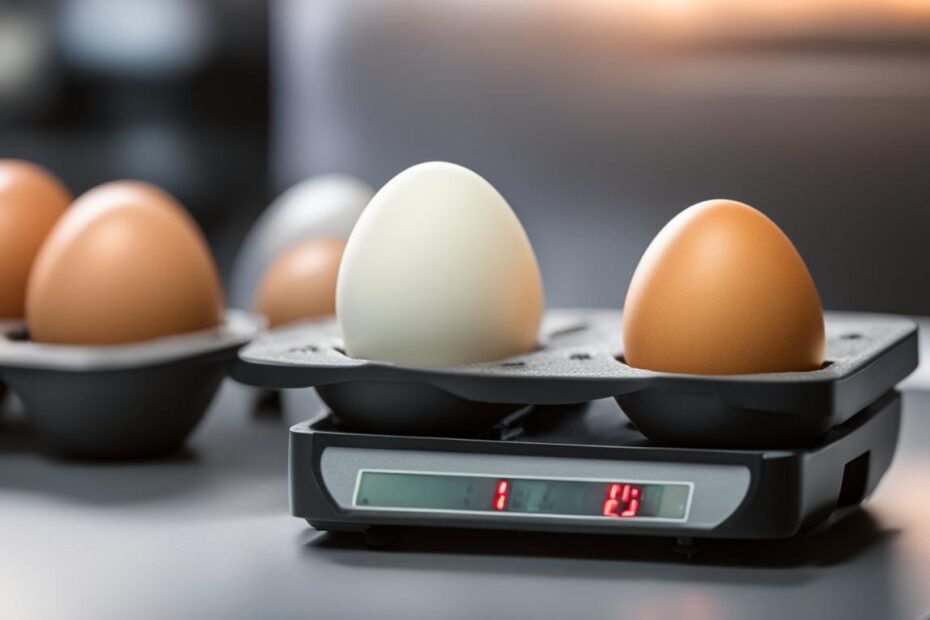
Incubating chicken eggs requires careful temperature control to ensure successful hatching. The temperature plays a vital role in the development of the embryos and maintaining the optimal conditions is essential for a high hatch rate. In this guide, we will explore the ideal temperature range for poultry egg incubation and provide tips on how to maintain the proper incubation temperature in chicken incubators.
During the incubation period, it is crucial to keep the temperature within a specific range for optimal results. The recommended temperature for successful chicken incubation is around 100.5 degrees Fahrenheit, with a range of 99-102 degrees Fahrenheit. This temperature range provides the ideal conditions for the growth and development of the chicks inside the eggs.
Consistency is key when it comes to temperature control in chicken incubators. Fluctuations in temperature can disrupt the delicate process of egg development and negatively impact the hatching success. Therefore, it is important to regularly monitor and adjust the temperature to ensure it remains within the desired range throughout the 21-day incubation period.
Key Takeaways:
- The optimal temperature for successful chicken incubation is around 100.5 degrees Fahrenheit
- Maintain a temperature range of 99-102 degrees Fahrenheit throughout the incubation period
- Consistency in temperature control is crucial for proper egg development
- Regularly monitor and adjust the temperature in the chicken incubator to avoid fluctuations
- Proper temperature control increases the chances of hatching healthy chicks
Choosing Fertile Eggs for Incubation
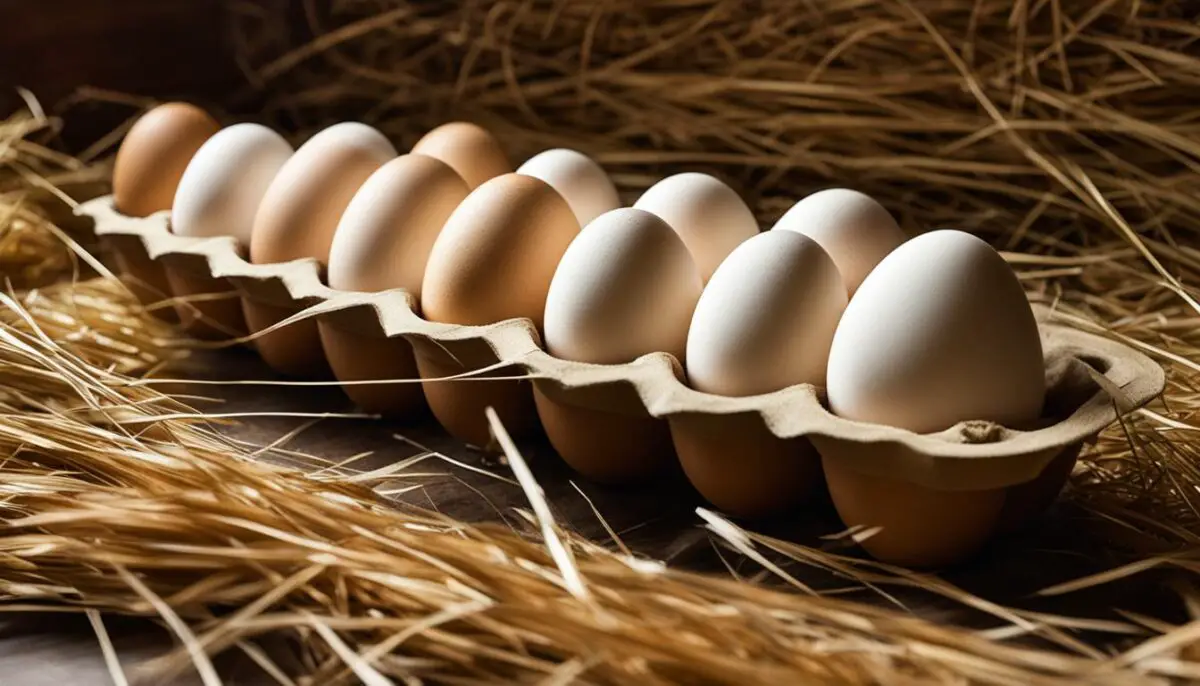
Fertile eggs are the foundation for successful incubation and hatching. However, it’s important to note that eggs sold in grocery stores are not fertile and will not hatch, even if placed in an incubator. In order to obtain fertile eggs, you have a couple of options:
- Hens housed with a rooster: Eggs obtained from hens kept with a rooster are usually fertile. These eggs can be collected directly from your own backyard flock or obtained from local poultry farmers.
- Ordering fertile eggs: Hatcheries or poultry farmers offer the convenience of ordering fertile eggs for incubation. It’s important to choose a reputable supplier that offers NPIP-certified flock.
The National Poultry Improvement Plan (NPIP) is a program designed to prevent and control diseases in poultry. Obtaining fertile eggs from an NPIP-certified flock can reduce the risk of disease and increase the chances of hatching healthy chicks. This certification ensures that the flock has undergone testing and meets specific health standards.
“Choosing fertile eggs from an NPIP-certified flock can significantly reduce the risk of disease, ensuring a higher probability of success in incubation and hatching.”
Once you have obtained fertile eggs, it’s important to handle them with care. Fertile eggs can be stored for up to 7 days prior to incubation. However, they should be stored in a cool room with a consistent temperature of 55-60 degrees Fahrenheit. Maintaining the proper storage conditions helps to preserve the viability of the eggs and ensures optimal development during incubation.
| Advantages of Choosing Fertile Eggs | Disadvantages of Choosing Fertile Eggs |
|---|---|
| Higher chances of successful hatching | Requires access to a rooster or reliance on external suppliers |
| Potential for genetic diversity and stronger offspring | Increased risk of disease if not obtained from NPIP-certified flock |
| Opportunity for selective breeding | May require additional resources for incubation and care |
Setting up the Incubator
An egg incubator is a vital tool for ensuring successful chicken incubation. When choosing an incubator, it is recommended to opt for one with automatic features, such as egg turning and a built-in fan for even heat distribution throughout the incubator. These automatic features help maintain optimal conditions for the eggs, promoting healthy embryo development and increasing the chances of successful hatching.
Prior to setting up the incubator, it is important to ensure its cleanliness. Start by cleaning the incubator with a bleach solution to eliminate any potential bacteria or contaminants. Follow this by washing it with warm soapy water to remove any residual bleach. This thorough cleaning process helps create a hygienic environment for the eggs and chicks.
Once the incubator is clean and dry, it’s time to calibrate the temperature and humidity settings. Temperature control is critical for proper incubation, and it is recommended to aim for a constant temperature of around 100.5 degrees Fahrenheit (38 degrees Celsius). Make sure to place a calibrated thermometer in the incubator to accurately monitor the temperature. If necessary, adjust the settings on the incubator to achieve the desired temperature.
Proper humidity control is also essential for successful incubation. The recommended humidity level for most chicken eggs is around 50-55% during the majority of the incubation period. However, on day 18, the humidity should be raised to approximately 70% to facilitate the hatching process. To help maintain humidity levels, many incubators come equipped with water channels or trays that can be filled with water as needed.
Ensuring proper ventilation within the incubator is crucial as the embryos grow bigger. Good ventilation helps maintain an adequate supply of fresh air and prevents a buildup of harmful gases. Most incubators have built-in vents or small openings to allow for airflow. It’s important to regularly check these vents to ensure they are not blocked or obstructed, ensuring proper ventilation throughout the incubation process.
Setting up the incubator correctly with automatic features, calibrated temperature and humidity control, and proper ventilation will provide the optimal environment for the eggs to develop into healthy and thriving chicks.
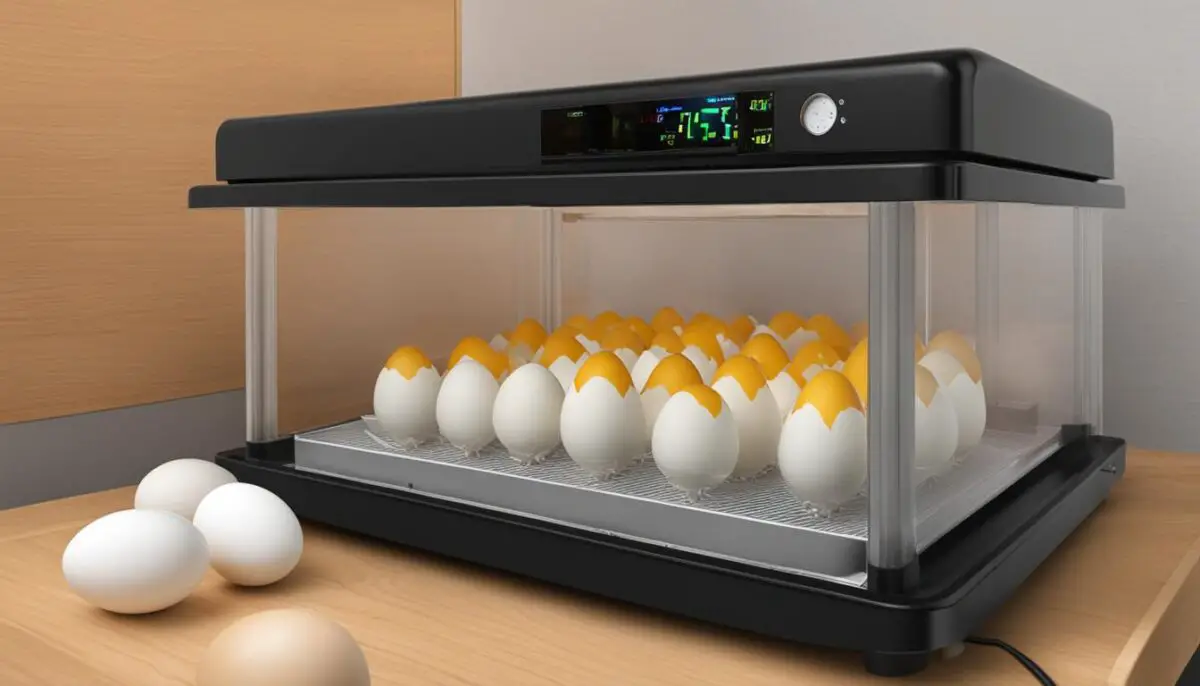
Incubator Set-Up Checklist
| Steps for Setting up the Incubator |
|---|
| Clean the incubator with a bleach solution and warm soapy water. |
| Calibrate the temperature settings to maintain a constant temperature around 100.5 degrees Fahrenheit. |
| Ensure proper humidity control by maintaining around 50-55% humidity during most of the incubation period and raising it to 70% on day 18. |
| Check ventilation to ensure proper airflow and prevent the buildup of harmful gases. |
By following these steps, you will create an optimal environment for successful chicken incubation and increase the chances of hatching healthy chicks.
Temperature and Humidity Guidelines
Proper temperature and humidity control are crucial factors for successful chicken incubation. Maintaining an optimum temperature and humidity range is essential to ensure the embryos develop and hatch successfully. Let’s take a closer look at the guidelines for temperature and humidity during the incubation process.
Optimum Temperature for Incubation
The recommended optimum temperature for chicken incubation is 100.5 degrees Fahrenheit (38 degrees Celsius). This temperature provides the ideal conditions for the development of the embryos inside the eggs. It is important to maintain this temperature consistently throughout the incubation period to maximize hatching success.
Temperature Range and Fluctuations
In addition to the optimum temperature, it is crucial to monitor the temperature range within the incubator. Aim to keep the temperature within a range of 99-102 degrees Fahrenheit (37-39 degrees Celsius). Avoid temperature drops below 99 degrees Fahrenheit and try not to let the temperature exceed 102 degrees Fahrenheit for prolonged periods, as it can negatively affect the embryo development.
Relative Humidity Control
Relative humidity plays a significant role in the incubation process. It is important to maintain a relative humidity level of 50-55% from day 1 to day 17 of incubation. On day 18, the humidity should be increased to 70% to facilitate the hatching process.
Wet Bulb Temperature and Water Channels
Monitoring the wet bulb temperature within the incubator is an effective way to gauge the humidity level. A wet bulb temperature of around 84 degrees Fahrenheit (29 degrees Celsius) corresponds to a relative humidity of 50%. Ensure that the water channels within the incubator are filled with water to facilitate proper humidity levels and maintain the desired moisture content in the air.
Using a Hygrometer
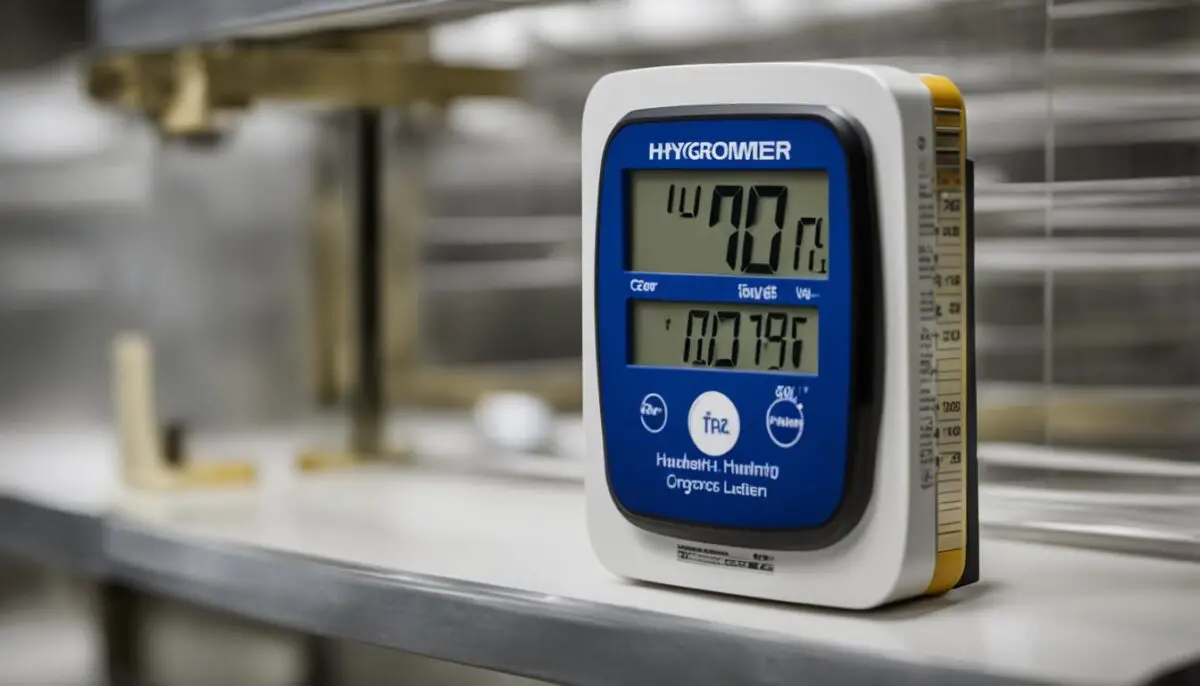
A hygrometer is a useful tool for monitoring and measuring the humidity levels within the incubator. It provides accurate readings and helps you ensure that the humidity remains within the recommended range throughout the incubation period.
Remember to avoid opening the incubator unnecessarily, as it can lead to heat and humidity loss. These fluctuations can disrupt the delicate balance required for successful incubation.
By following these temperature and humidity guidelines, you can create the optimal conditions for incubating and hatching chicken eggs, increasing the chances of a successful hatch.
| Temperature | Humidity |
|---|---|
| Optimum Temperature | 100.5°F (38°C) |
| Temperature Range | 99-102°F (37-39°C) |
| Relative Humidity | 50-55% (days 1-17) 70% (day 18 onwards) |
Turning the Eggs
Turning the eggs plays a critical role in ensuring the proper development of the embryos. This essential process must be carried out regularly and consistently throughout the incubation period. Failure to turn the eggs can lead to deformities or even death of the developing embryos.
The importance of egg turning cannot be overstated. By rotating the eggs, you help prevent the embryos from sticking to the shell membrane and promote the even distribution of nutrients within the egg. This movement mimics the natural behavior of mother hens that turn their eggs multiple times a day.
Manual Turning:
Manual turning is a common method used by many breeders. To keep track of the eggs that have been turned, gently mark each egg with a soft lead pencil. This way, you can ensure that every egg receives the necessary attention and doesn’t get missed during the turning process.
Example:
“I find marking the eggs with a pencil to be a simple yet effective way of tracking their rotation. It allows me to maintain a consistent turning schedule and ensures that each egg receives the care it needs.”
Automatic Turners:
For those who prefer a more hands-off approach, incubators equipped with automatic turners are a convenient alternative. These turners gently rotate the eggs at regular intervals, eliminating the need for manual intervention. Automatic turners provide consistent turning, ensuring that the embryos are properly nourished and that their development progresses smoothly.
When using automatic turners, it is still important to monitor their proper functioning. Regularly check that all eggs are being rotated and adjust the settings if necessary. This extra attention ensures the best possible outcome for your hatchlings.
Example:
“I invested in an incubator with an automatic turner, and it has made the process so much easier. I can rest assured knowing that my eggs are being rotated consistently, allowing me to focus on other aspects of incubation.”
Regardless of whether you choose manual turning or automatic turners, proper hygiene is essential. Wash your hands thoroughly or wear clean gloves before handling the eggs to avoid transferring any oils or germs onto the delicate embryos.
Table: Benefits of Manual Turning vs. Automatic Turners
| Manual Turning | Automatic Turners | |
|---|---|---|
| Turning Frequency | 3-5 times per day | Pre-set, consistent intervals |
| Monitoring | Hands-on tracking required | Ongoing observation and adjustment |
| Convenience | Requires regular attention | Hands-off operation |
| Reliability | Dependent on breeder diligence | Dependable mechanical function |
Candling the Eggs
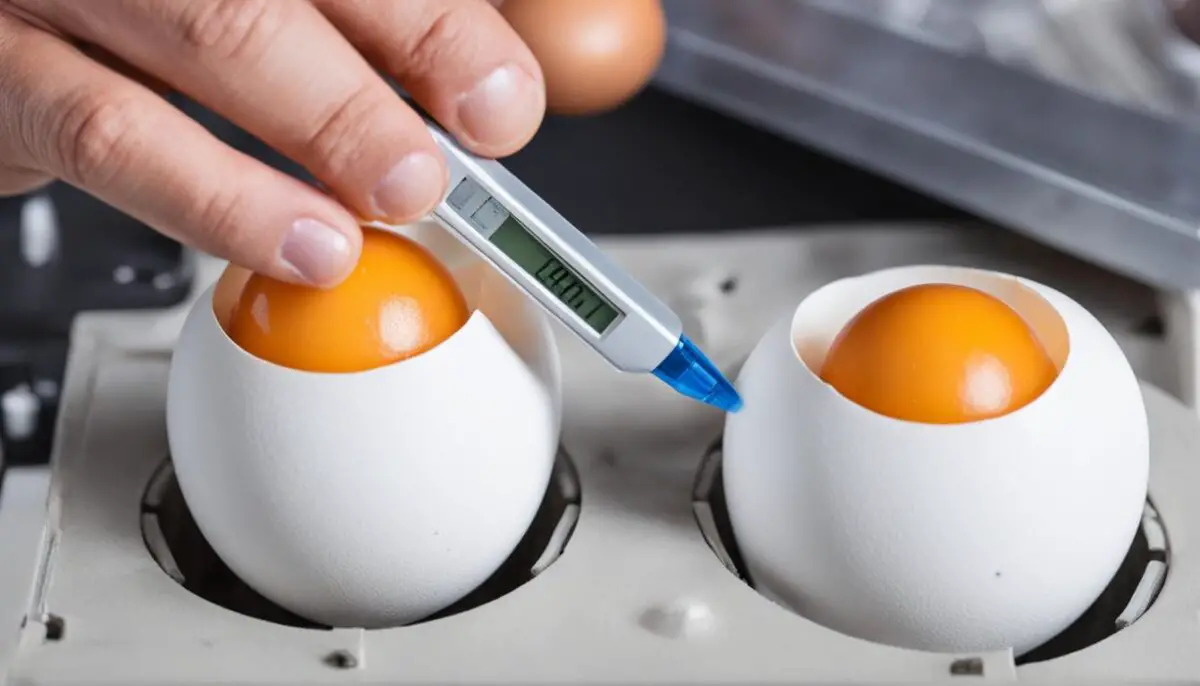
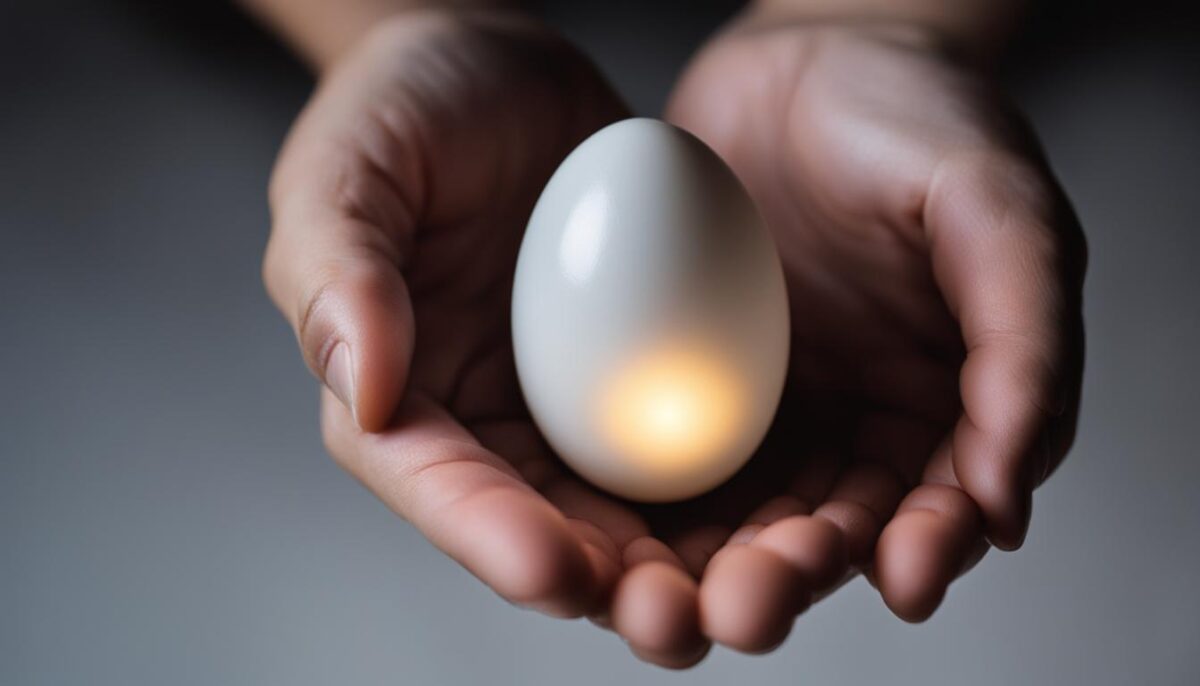
One important step in the process of incubating chicken eggs is candling. Candling involves shining a light through the eggs to determine the embryo’s development stage. It allows you to assess whether the eggs are fertile, identify live embryos, and detect any issues like broken or leaking eggs. It is typically done between day 7 and day 10 of the incubation period.
During candling, you can observe different signs that provide insights into the embryos’ progress. Clear eggs with no visible structures or dark areas are likely infertile or have embryos that died early in development. If you see a visible ring of red, it indicates that the embryo was present at some point but has since died. Eggs with visible blood vessels indicate live embryos that are developing normally.
It is crucial to remove any broken or leaking eggs from the incubator as they can negatively affect the other eggs’ environment. These eggs may introduce contaminants or disrupt the humidity and temperature levels necessary for proper incubation. By removing them promptly, you ensure optimal conditions for the viable eggs.
After candling, the eggs should be returned to the incubator to continue their development until hatching. It’s important to handle the eggs with care during this process to avoid any damage to the delicate embryos.
Benefits of Candling:
Candling eggs provides valuable information about the progress of embryo development. By identifying infertile eggs or those with early embryo death, you can remove them from the incubator, allowing for better resource allocation and higher hatch rates. It also helps you monitor the overall health of the live embryos, enabling you to address any potential issues promptly.
| Candling Observations | Interpretation |
|---|---|
| Clear with no visible structures or dark areas | Infertile or early embryo death |
| Visible ring of red | Embryo present at some point but died |
| Visible blood vessels | Live embryos |
With the aid of candling, you can make informed decisions during the incubation period, ensuring optimal conditions for the developing embryos and increasing the chances of hatching healthy chicks.
Pre-hatching and Hatching
By day 18, the embryos have developed into chicks and are preparing to hatch. At this stage, the eggs should no longer be turned and temperature should be maintained at 100.5 degrees Fahrenheit while increasing humidity to 70%. Chicks usually start hatching around day 21, but it can take longer if the eggs were cooled prior to incubation. It is important to let the chicks hatch on their own without assistance to avoid potential damage or bleeding. Unhatched eggs can be given until day 23 before discarding, and candling can be done to check for signs of life.
To ensure a successful hatching process, it is important to provide the right conditions for the chicks. Here are some key points to consider:
-
Temperature Adjustment: During the pre-hatching period, it is crucial to maintain a constant temperature of 100.5 degrees Fahrenheit. This ensures optimal development of the chicks and facilitates a smooth hatching process. Avoid sudden temperature fluctuations as it can negatively impact the embryos.
-
Egg Positioning: Leave the eggs undisturbed in the incubator during the hatching phase. The chicks need to position themselves properly inside the egg for hatching. Moving or rotating the eggs at this stage can disrupt the positioning and hinder the hatching process.
-
Assisting Chicks: While it may be tempting to help struggling chicks by breaking their shell, it is best to refrain from doing so. Chicks need to go through the hatching process naturally to strengthen their muscles and develop properly. Providing assistance can lead to weak chicks unable to thrive.
-
Unhatched Eggs: Some eggs may not hatch within the expected timeframe. It is recommended to give these eggs until day 23 in case of delayed hatching. However, if there are no signs of life or movement during candling, it is advisable to discard the unhatched eggs.
Remember, patience is key during the hatching process. Allowing the chicks to hatch on their own ensures their overall well-being and increases the chances of healthy and robust chicks.
| Pre-hatching and Hatching Guidelines | |
|---|---|
| Temperature Adjustment | Maintain a constant temperature of 100.5°F |
| Egg Positioning | Leave the eggs undisturbed in the incubator |
| Assisting Chicks | Let chicks hatch naturally without intervention |
| Unhatched Eggs | Give eggs until day 23 before discarding |
Conclusion
To ensure a successful chicken incubation and hatching process, proper temperature control and humidity control are essential. Maintaining an optimal temperature range of 99-102 degrees Fahrenheit is crucial for the development of healthy chicks. Alongside temperature, consistent humidity levels play a vital role in the incubation process, with relative humidity ranging from 50-55% during days 1-17 and 70% on day 18.
Obtaining fertile eggs from NPIP-certified flocks is recommended to minimize disease risks and maximize hatching success. Throughout the incubation period, it is crucial to regularly turn the eggs and monitor their development through candling. By gently marking the eggs and turning them at least three times a day, embryo development can progress as intended.
During the pre-hatching and hatching stage, it is important to allow the chicks to hatch naturally without interfering or providing assistance. This ensures their overall well-being and reduces the risk of injury. By following these guidelines and maintaining proper temperature and humidity control, you can significantly increase the chances of hatching healthy and thriving chicks.
FAQ
What is the optimal temperature for successful chicken incubation?
The optimal temperature for successful chicken incubation is around 100.5 degrees Fahrenheit, with a recommended temperature range of 99-102 degrees Fahrenheit.
Where can I obtain fertile eggs for incubation?
Fertile eggs can be obtained from hens housed with a rooster or ordered from a hatchery or poultry farmers with roosters in their flocks. It is recommended to obtain fertile eggs from a National Poultry Improvement Plan (NPIP)-certified flock to reduce the risk of disease.
What features should I look for in an incubator?
It is recommended to choose an incubator with automatic features such as egg turning and a fan for even heat distribution. Proper ventilation is also important as the embryos grow bigger.
What are the temperature and humidity guidelines for chicken incubation?
The recommended optimum temperature for chicken incubation is 100.5 degrees Fahrenheit, with a temperature range of 99-102 degrees Fahrenheit. Relative humidity should be maintained at 50-55% from day 1-17 and raised to 70% on day 18. Water channels should be kept full to facilitate proper humidity levels, and a hygrometer can be used to monitor humidity.
How often should I turn the eggs?
Eggs should be turned a minimum of 3 times per day, with 5 times being even better. Manual turning can be done by gently marking the eggs with a soft lead pencil to keep track. Some incubators have automatic turners that eliminate the need for manual turning.
What is the process of candling eggs?
Candling eggs involves shining a light through the eggs to determine embryo development. Clear eggs with no visible structures or dark areas are infertile or have embryos that died early. Eggs with a visible ring of red had embryos at some point but they have died. Eggs with visible blood vessels indicate live embryos, while broken or leaking eggs should be removed from the incubator.
What should I do during the pre-hatching and hatching stage?
By day 18, the embryos have developed into chicks and are preparing to hatch. At this stage, the eggs should no longer be turned and temperature should be maintained at 100.5 degrees Fahrenheit while increasing humidity to 70%. Chicks usually start hatching around day 21, but it can take longer if the eggs were cooled prior to incubation. It is important to let the chicks hatch on their own without assistance to avoid potential damage or bleeding.
How important is temperature control for successful chicken incubation?
Proper temperature control is crucial for successful chicken incubation and hatching. Maintaining an optimal temperature range of 99-102 degrees Fahrenheit is essential, along with proper humidity control. Following these guidelines will increase the chances of hatching healthy chicks.
