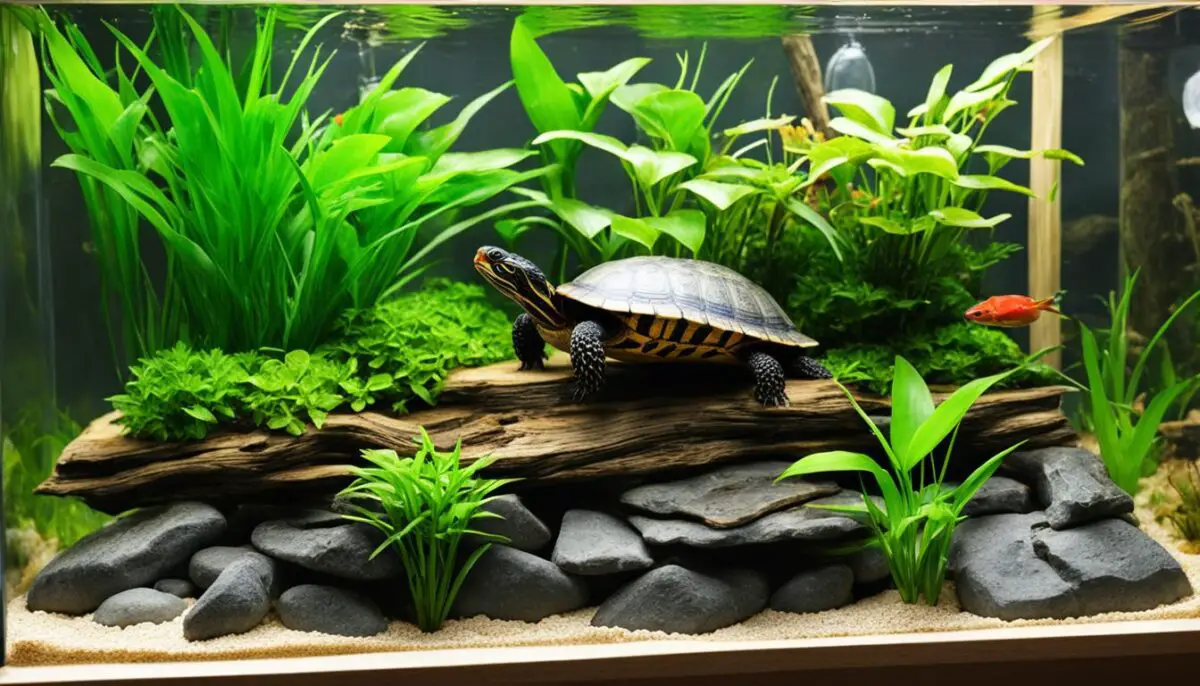
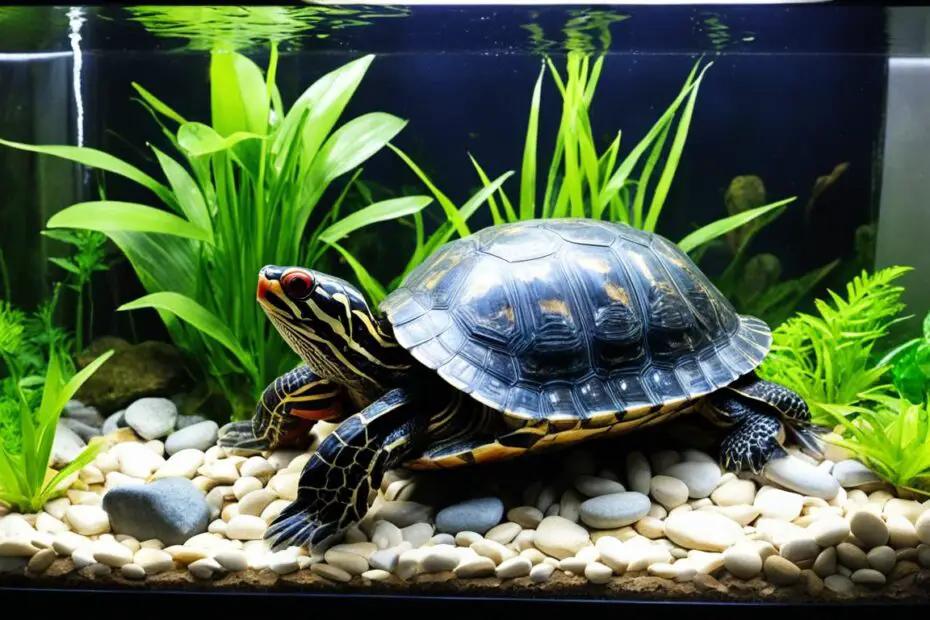
Are you considering creating a homemade tank for your red-eared slider turtle? Building a suitable tank that provides the perfect environment for your turtle is essential for its health and well-being. In this DIY guide, we will explore the key steps and considerations for setting up a homemade red-eared slider tank.
Key Takeaways:
- A red-eared slider tank should provide both water for swimming and a basking area for drying off.
- The tank size should be 10 gallons of water per inch of turtle, with a minimum size of 20 gallons for hatchlings.
- Popular tank options include aquariums or large plastic containers.
- The water should be about twice as deep as the turtle is long, and a basking area should be provided using rocks, stones, or a floating shelf.
- The tank should be uncluttered and easy to clean, as turtles can knock things over.
Choosing the Right Tank Size for your Red Eared Slider
When it comes to creating a comfortable habitat for your beloved red-eared slider, choosing the right tank size is crucial. The tank size should be based on the turtle’s size to ensure it has enough space to swim and bask comfortably. As a general guideline, plan on providing 10 gallons of tank capacity for every inch of your turtle’s length.
For hatchlings, a 20-gallon tank is suitable, allowing them enough room to grow and explore. However, as they mature into adults, they may require a larger tank to accommodate their size and natural behaviors. A tank size of 50 gallons or more is recommended for adult red-eared sliders.
When selecting a tank, consider factors such as sturdiness, available space, and the turtle’s ability to flip over. Ensure that the tank has a water depth that is at least twice the length of the turtle, allowing them ample space for swimming and diving.
Tip: Planning for the future growth of your turtle is essential. As they grow, they will need more space to thrive. Investing in a larger tank from the start can save you the hassle of frequent tank upgrades as your turtle matures.
Remember, creating the perfect tank environment involves more than just the size. It’s important to consider other factors such as filtration, lighting, and temperature control. By providing the right tank size, you are setting the foundation for a happy and healthy red-eared slider.

4. Temperature Control:
Maintaining the right water temperature is crucial for the well-being of your red-eared slider. The water should be kept between 74-78 degrees Fahrenheit to provide an optimal swimming environment. Using a reliable aquarium thermometer will help you monitor and adjust the temperature as needed. The basking area, with the heat lamp, should reach a temperature range of 90-95 degrees Fahrenheit to give your turtle a comfortable and warm place to dry off and thermoregulate.
“Creating a suitable tank environment for your red-eared slider is crucial for their health and happiness. Prioritizing water filtration, providing a safe and warm basking area, and ensuring proper lighting and temperature control will go a long way in keeping your turtle thriving.”
Accessorizing the Tank
When it comes to accessorizing your red-eared slider tank, it’s important to consider both the behavior and safety of your turtle. While plants can add a nice aesthetic touch, turtles are known for eating or uprooting them. Instead, consider using plastic plants to provide hiding spots without the risk of ingestion.
“Plastic plants are a great alternative, as they offer a natural-looking environment while minimizing potential risks,” suggests turtle expert Dr. Emily Sullivan.
In addition to plants, larger rocks, stones, and driftwood make excellent tank accessories. These provide both visual interest and opportunities for climbing and exploration. When choosing driftwood, it’s important to purchase it from pet supply stores to ensure it is parasite-free.
“Driftwood serves multiple purposes in a red-eared slider tank. It provides a basking area, adds a natural element, and enhances the overall aesthetics of the tank,” explains Dr. Sullivan.
Before adding any objects from outside to the tank, make sure to thoroughly sterilize them to protect the health of your turtle. It’s also essential to avoid using small objects in the tank that can be ingested by the turtle, as this can lead to potential health issues.
Creating an uncluttered and easy-to-clean tank environment is ideal for both the turtle and the owner. This ensures that the tank remains a safe and healthy habitat for your red-eared slider to thrive in.
Tank Accessory Ideas:
- Larger rocks and stones for climbing and sunbathing
- Plastic plants for hiding spots
- Driftwood for a natural aesthetic
| Pros | Cons |
|---|---|
| Enhances aesthetic appeal | Turtles may chew or uproot plants |
| Provides hiding spots and climbing opportunities | Small objects can pose a health risk if ingested |
| Driftwood creates a natural basking area | Outside objects must be thoroughly sterilized |
Conclusion
Creating a DIY red eared slider tank is a rewarding project that allows you to provide a comfortable and safe habitat for your turtle. By considering the turtle’s natural habitat and following proper tank construction guidelines, you can ensure that your red-eared slider thrives in its new environment.
The tank size is a crucial aspect to consider. It should be suitable for the turtle’s current size and allow for future growth. Adequate filtration, lighting, and temperature control are essential to maintaining a healthy tank environment. By investing in a good quality aquarium water filter and providing the necessary UVA and UVB lighting, you can promote your turtle’s overall well-being.
Accessorizing the tank with larger rocks, stones, and driftwood not only enhances the visual appeal but also creates hiding spots for the turtle. These accessories mimic the natural environment of the red-eared slider and make it feel secure and comfortable. Make sure to sterilize any objects taken from outside before adding them to the tank.
With proper tank construction and thoughtful consideration for the red-eared slider’s needs, you can create a homemade turtle tank that meets all the requirements for a happy and healthy turtle. Enjoy the process and watch your red-eared slider thrive in its new DIY habitat!
FAQ
What size tank do I need for a red-eared slider?
The tank size for a red-eared slider should be based on the turtle’s size. As a general rule, plan on 10 gallons of tank capacity for every inch of turtle. For hatchlings, a 20-gallon tank is suitable, while adults may require a tank of 50 gallons or more.
What should be included in the turtle tank setup?
The tank environment for a red-eared slider should include a suitable filter to keep the water clean, a basking area for drying off, and proper lighting. The filter should be able to handle the turtle’s waste, and the basking area should consist of rocks, stones, or a floating platform. Lighting is crucial, with a heat lamp for the basking area and a full spectrum reptile UVB light.
How should I accessorize my red-eared slider tank?
When accessorizing the red-eared slider tank, it is important to consider the turtle’s behavior and safety. Larger rocks, stones, and driftwood are recommended as tank accessories. Plants are not advised, as turtles may eat or uproot them. Plastic plants can be used instead to provide hiding spots.
Can I build my own homemade red-eared slider tank?
Yes, you can build a homemade red-eared slider tank. When building a homemade tank, it is important to consider the turtle’s natural habitat and provide a suitable environment for swimming and basking. The tank should have the appropriate size, proper filtration, lighting, and temperature control. Accessorizing the tank with larger rocks, stones, and driftwood can enhance the aesthetic appeal and provide hiding spots for the turtle.

