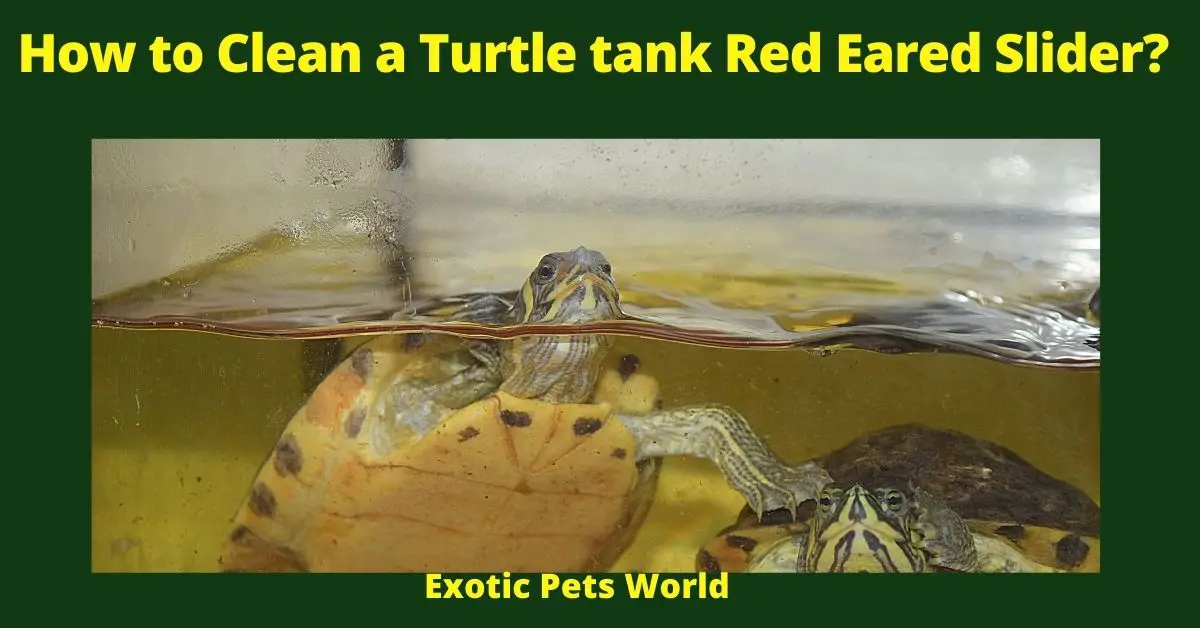
How to Clean a Turtle tank Red Eared Slider?
If you have a red-eared slider as a pet, then you need to know how to clean its tank. This is an important part of taking care of your turtle. Not cleaning the tank can lead to a buildup of bacteria and algae, which can be harmful to your pet. In this blog post, we will teach you how to properly clean your turtle’s tank!
What you will need to Clean your Turtle Tank?
There are several different supplies and items that you will need to clean your turtle tank properly.
First and foremost, you will need a bucket or bowl of water to hold the turtle while you clean its tank. You will also need a scrub brush or other cleaning utensil, along with some soap or detergent.

Depending on the size of your tank and the number of turtles living in it, you may also need towels or other tools to dry off the tank once you have cleaned it.
Finally, it is important to have some sort of disinfectant on hand to help kill any bacteria lingering in the tank after cleaning. Overall, having these essentials on hand will ensure that you can easily and effectively clean your turtle tank and keep your turtles healthy and thriving. How to Clean a Turtle tank Red Eared Slider?
How to clean your Turtle Tank?
The first step in cleaning your turtle tank is to remove all of the gravel and decorations from the bottom of the tank. Next, you will need to remove any leftover food or debris from the water using a net or a turkey baster.
Be sure to rinse out these tools thoroughly before putting them back into the water, as otherwise, you may introduce dangerous bacteria or pathogens into the tank. Once everything has been cleaned, you can use your regular aquarium cleaner to wipe down the sides of the tank and any decorations that have been placed inside.
Be sure to change all of the water at this point, using dechlorinated tap water or specialized turtle water treatment. Once you’ve replaced the water, put all of your gravel and decorations back into their original positions and enjoy your sparkling clean turtle tank!

How to clean the filter of your Turtle Tank?
Keeping your turtle’s tank clean is important for their health and wellbeing. The filter is a key part of the filtration system and should be cleaned regularly. There are a few different ways to clean the filter, depending on the type of filter you have.
Mechanical Filters – For mechanical filters, you will need to remove the filter media and rinse it in clean water.
Chemical Filters – For chemical filters, you will need to replace the activated carbon every few months.
Biological Filters – If you have a biological filter, you will need to perform a partial water change every month or so. Whichever type of filter you have, it is important to follow the manufacturer’s instructions to ensure that it is cleaned properly. By keeping your turtle’s tank clean, you will provide them with a healthy environment to live in.
How to clean the water in Your Turtle Tank?
Turtles are fun and interesting pets to have, but they require a bit more care than some other animals. One important thing to keep in mind is that turtles are very sensitive to water quality.
As a result, it’s important to keep the water in their tank clean. The good news is that there are a few simple steps you can follow to ensure that your turtle’s home is always clean and comfortable.
First, be sure to perform a partial water change each week. This will help to remove any build-up of toxins and waste products.
Second, invest in a good filter system. A good filter will help to keep the water clear and free of debris. Finally, consider adding some live plants to your turtle tank.
Not only do they look nice, but they also help to improve water quality by absorbing toxins and releasing oxygen. By following these simple tips, you can help keep your turtle happy and healthy for years to come.
What should I be Feeding your turtle?
When it comes to feeding your turtle, there is no one-size-fits-all approach that will be suitable for every species of turtle.
Different types of turtles have varied nutritional needs depending on their size and habitat, so it is important to work with a qualified wildlife expert who can help you to determine what type of diet is best for your specific turtle.
Some general guidelines, however, can help you to provide the right kind of food and ensure that the health of your turtle is not compromised.
In general, turtles should be fed a varied diet that consists primarily of leafy greens like kale and spinach as well as other vegetables like bell peppers and carrots.
Additionally, some protein may be necessary to promote healthy growth in larger turtles, though care should be taken not to give too much protein as this can actually have harmful effects on a turtle’s health.
Overall, finding the right balance between providing enough nutrition while avoiding foods that pose risks can take time and patience, but it is essential in order to keep your turtle thriving and happy.
10 Tips for Cleaning Your Turtle Tank?
Cleaning your turtle tank doesn’t have to be a daunting task. By following these simple tips, you can keep your turtle’s home clean and comfortable while also ensuring their health and wellbeing.
- First, be sure to perform a partial water change each week. This will help to remove any build-up of toxins and waste products.
- Second, invest in a good filter system. A good filter will help to keep the water clear and free of debris.
- Third, consider adding some live plants to your turtle tank. Not only do they look nice, but they also help to improve water quality by absorbing toxins and releasing oxygen.
- Fourth, clean the filter regularly. Depending on the type of filter you have, this may mean rinsing it in clean water or replacing the activated carbon every few months.
- Fifth, don’t forget to clean the turtle itself! Be sure to use a gentle cleanser and avoid any soaps or detergents that could be harmful if ingested.
- Sixth, keep an eye on the temperature of the water. Turtles are ectothermic, meaning they rely on external sources of heat to regulate their body temperature. As a result, the water in their tank should be kept at a consistent temperature between 75 and 85 degrees Fahrenheit.
- Seventh, provide your turtle with hiding places. Hiding places can help turtles feel safe and secure, and they also offer a place for them to escape the light if they need to cool down.
- Eighth, don’t overcrowd the tank. Be sure to provide enough space for your turtle to move around freely without feeling cramped or restricted.
- Ninth, avoid using any harsh chemicals in the turtle tank. This includes things like bleach or ammonia, which can be harmful to both turtles and plants alike.
- Finally, consider investing in a turtle ramp. A turtle ramp can help turtles to climb out of the water for basking or to lay eggs, and it can also provide an easy way for them to get back into the water when they’re ready. By following these simple tips, you can help keep your turtle happy and healthy for years to come.
- By following these simple tips, you can keep your turtle tank clean and improve the health of your pet turtle. Do you have any other tips for cleaning a turtle tank?

What can I use to Clean my Turtle Tank?
- Vinegar
- Bleach
- Ammonia
- Clean Water to Flush Tanks and fixtures thoroughly
When it comes to cleaning a turtle tank, there are several different things that you can use. One of the most effective options is vinegar, which is a natural disinfectant that will help to kill off any harmful bacteria or microorganisms in the water.
Other good choices include bleach and ammonia, both of which can be very effective at getting rid of stubborn stains and other impurities. Additionally, there are commercial products designed specifically for cleaning turtle tanks, such as filter cleaners and algae-fighting formulas.
Ultimately, the best option will depend on your specific circumstances, so it’s important to do your research and select a cleaning method that works well for you. Regardless of what you choose, however, regular tank cleanings are essential to keep your turtles happy and healthy.
How to Clean a turtle tank with Vinegar?
Cleaning a turtle tank can be a bit of a challenge. Not only do you need to remove any accumulated waste or uneaten food, but you also need to get rid of any bacteria or algae that may be present in the water.
One effective way to clean the tank thoroughly and safely is by using vinegar. This natural substance contains mild acids that are effective at removing stubborn stains and breaking down hard-to-remove buildups.
To clean your turtle tank with vinegar, start by stirring together equal parts white vinegar and water in a large bucket or sink. Avoid adding so much water that it lowers the concentration of the vinegar too much.
Next, use a large sponge to scrub down all surfaces of the tank, paying careful attention to any algae or other buildup that may be present. Finally, pour out the dirty mixture and rinse the entire tank thoroughly using clean water.
Allow the tank to dry completely before adding new decorations or turtles back into it. With regular maintenance using vinegar, your turtle tank will remain clean and healthy for years to come!
How often to clean the red-eared Slider Tank?
The frequency of cleaning for a red-eared slider tank depends on several factors, including the size of the tank, the number of turtles, and whether or not the turtles are kept indoors or outdoors.
For example, a small tank with two turtles that is kept outdoors will need to be cleaned much less often than a large tank with four turtles that is kept indoors. Generally speaking, the larger the tank and the more turtles it contains, the more often it will need to be cleaned.
As a general rule of thumb, a red-eared slider tank should be cleaned once every two weeks. However, some turtle owners prefer to clean their tanks more often, while others clean them less often.
How to Clean my Turtle?
There are a few key steps to cleaning a turtle properly. First, you will need to begin by getting your hands on some basic supplies, such as a small tub or bucket filled with clean water and a soft cloth or sponge.
Next, gently remove the turtle from its tank and place it in the water so that you can begin to carefully wash off any dirt or debris. As you do this, be sure to avoid getting too close to the turtle’s nose and eyes, as these areas are particularly sensitive.
Once your turtle is thoroughly cleaned, you can use a damp cloth or rag to dry its shell and skin. Finally, let your turtle rest for at least 30 minutes before returning it to its tank. With regular cleaning and care, your turtle will stay looking and feeling healthy for years to come!
How to Clean Turtle Shell Algae?
Turtles are often subject to algae growth on their shells. Algae is a plant-like organism that can range in color from green to brown.
While some algae are harmless, other types can be harmful to turtles if left unchecked. In order to clean turtle shell algae, you will need to remove the turtle from its tank and scrub the shell with a soft brush.
You can then rinse the shell with clean water and allow it to dry before returning the turtle to its tank. It is important to avoid using harsh chemicals or soaps, as these can damage the shell. If the algae growth is extensive, you may need to repeat this process several times. With regular cleaning, you can help keep your turtle’s shell healthy and free of harmful algae.
How to Clean Turtle Shell Rot?
One of the most common health problems faced by pet turtles is shell rot. This condition is caused by a bacterial or fungal infection, and it can quickly lead to serious health problems if left untreated.
The good news is that shell rot is easy to treat, and most turtles will make a full recovery with proper care. The first step in treating shell rot is to identify the cause. If the shell is cracked or damaged, it will need to be repaired before treatment can begin.
Once the cause has been identified, the next step is to clean the affected area. This can be done using a soft cloth and a mild soap. Be sure to rinse the area thoroughly with clean water to remove any soap residue.
Once the area has been cleaned, it will need to be dried completely. Once the shell has been cleaned and dried, apply an antifungal or antibacterial cream to the affected area. You may also need to give your turtle a course of antibiotics to clear up any internal infections. With proper care, most turtles will make a full recovery from shell rot.
Final Thoughts – How to Clean a Turtle tank Red Eared Slider?
The steps above should help you thoroughly to be able to clean your tank. It Is important to make sure that flush any remaining cleansers before putting your turtle back in.

Do you have a spam issue on this website; I also am a blogger, and I was wondering your situation; many of us have developed some nice practices and we are looking to exchange methods with others, why not shoot me an email if interested.
Hmm is anyone else encountering problems with the images on this blog loading? I’m trying to figure out if its a problem on my end or if it’s the blog. Any feed-back would be greatly appreciated.
Good day! This is my first comment here so I just wanted to give a quick shout out and tell you I really enjoy reading through your blog posts. Can you suggest any other blogs/websites/forums that deal with the same topics? Thanks for your time!
Hi would you mind letting me know which webhost you’re utilizing? I’ve loaded your blog in 3 completely different web browsers and I must say this blog loads a lot quicker then most. Can you suggest a good internet hosting provider at a honest price? Many thanks, I appreciate it!
Fantastic beat ! I would like to apprentice even as you amend your site, how can i subscribe for a blog web
site? The account helped me a appropriate deal.
I have been a little bit familiar of this your broadcast offered shiny
clear idea
Throughout this great design of things you actually secure an A with regard to effort. Exactly where you misplaced everybody was on all the details. As they say, details make or break the argument.. And it couldn’t be much more true at this point. Having said that, allow me reveal to you what exactly did deliver the results. The article (parts of it) is certainly really engaging and that is most likely the reason why I am taking the effort to opine. I do not really make it a regular habit of doing that. Second, whilst I can certainly see the jumps in logic you come up with, I am not necessarily certain of exactly how you seem to unite your points which in turn make the actual conclusion. For right now I will, no doubt yield to your issue but trust in the future you connect your facts better.
It’s going to be end of mine day, but before finish I
am reading this impressive article to improve my know-how.